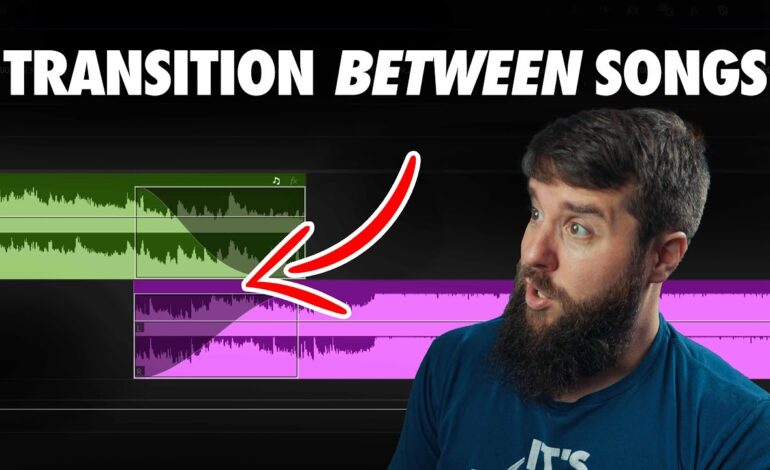
Audio quality can make or break a video. Even when visuals are stunning, poor sound balancing can distract viewers and reduce engagement. One of the most effective techniques for achieving professional-quality audio is using keyframes for dynamic volume control. Whether you’re editing YouTube content, podcasts, documentaries, tutorials, or promotional videos, mastering keyframes allows you to create smooth transitions, highlight important sounds, and maintain consistent listening levels throughout your project.
Instead of relying on a single volume setting for an entire audio track, keyframes give you precise control over volume changes at specific points in time. This flexibility helps create a polished viewing experience while keeping audiences focused on your message.
Why Dynamic Volume Adjustment Matters in Modern Video Production
Audio rarely stays consistent throughout a project. Dialogue levels change, background music may become overwhelming, and sound effects often need emphasis during key moments. Without proper adjustments, viewers may struggle to hear important information or become distracted by sudden volume shifts.
Dynamic volume control solves these challenges by allowing editors to automate audio changes over time. Rather than manually cutting and adjusting multiple clips, keyframes let you create smooth fades, gradual increases, and precise volume dips whenever necessary.
This technique is commonly used for:
- Lowering music beneath dialogue
- Creating fade-ins and fade-outs
- Enhancing dramatic moments
- Balancing multiple speakers
- Emphasizing sound effects
- Managing ambient background noise
The result is cleaner, more professional audio that improves audience retention and overall content quality.
Understanding What Keyframes Do
A keyframe acts as a marker that tells your editing software where a volume change should occur. By placing multiple keyframes on an audio track, you create a path that determines how volume increases or decreases between those points.
For example, if background music begins loudly and you want it quieter when a narrator starts speaking, you can place keyframes before and after the narration begins. The software automatically creates a smooth transition between those levels.
Most professional editing applications support audio keyframes, including:
- Adobe Premiere Pro
- DaVinci Resolve
- Final Cut Pro
- Vegas Pro
- Filmora
- CapCut
- Camtasia
Although interfaces differ, the basic workflow remains largely the same across platforms.
Creating Smooth Audio Fades Without Abrupt Changes
One of the simplest yet most powerful uses of keyframes is producing smooth fades.
An abrupt audio start can feel jarring, while a sudden ending often appears unprofessional. By adding keyframes, you can gradually increase volume at the beginning of a clip and gently decrease it at the end.
To create a fade-in:
- Place a keyframe at the start of the audio clip.
- Set the volume to a very low level.
- Add another keyframe several seconds later.
- Raise the volume to the desired listening level.
For fade-outs, simply reverse the process.
These subtle adjustments create a more polished presentation and improve viewer comfort.
Balancing Music and Dialogue Like a Professional
One of the most common challenges in video editing involves balancing background music with spoken content.
Music adds emotion and energy, but if it’s too loud, viewers may struggle to understand dialogue. Keyframes solve this problem through a technique often called audio ducking.
Here’s how it works:
- Place keyframes before dialogue begins.
- Gradually lower the music volume.
- Maintain reduced volume while someone speaks.
- Raise the music again after the dialogue ends.
This approach preserves the emotional impact of the soundtrack while ensuring every spoken word remains clear.
Professional editors often reduce music by 10 to 20 decibels beneath dialogue, depending on the style of content and the complexity of the soundtrack.
Enhancing Storytelling Through Volume Automation
Audio is a powerful storytelling tool. Strategic volume changes can guide audience attention and strengthen emotional impact.
For example:
- Increase music during a dramatic reveal.
- Lower ambient noise during important narration.
- Emphasize critical sound effects.
- Build anticipation with gradual volume rises.
Rather than maintaining a flat audio experience, keyframes allow sound to evolve alongside the visual narrative.
This dynamic approach helps keep viewers engaged and creates a more immersive viewing experience.
Managing Multiple Audio Layers Efficiently
Most video projects contain several audio elements working together:
- Voiceovers
- Dialogue recordings
- Music tracks
- Sound effects
- Environmental ambience
Without proper control, these layers can compete for attention.
Keyframes allow editors to manage each element individually. You can reduce background sounds when important dialogue occurs, boost effects during action sequences, and fine-tune volume relationships across the entire timeline.
The ability to automate these changes saves significant editing time while producing more refined results.
Common Mistakes to Avoid When Using Keyframes
While keyframes are extremely useful, certain mistakes can negatively affect audio quality.
Using Too Many Keyframes
Adding excessive keyframes can create unnatural fluctuations and make future edits difficult. Focus only on areas requiring adjustment.
Making Sudden Volume Jumps
Sharp changes often sound distracting. Whenever possible, create gradual transitions that feel natural to listeners.
Ignoring Headphone Monitoring
Audio can sound different across speakers and headphones. Always review your edits using multiple playback devices.
Overpowering Dialogue
Even exciting music should never compete with speech. Prioritize vocal clarity throughout the editing process.
Skipping Final Audio Review
Listen through the entire project before exporting. Small inconsistencies are often easier to detect during a complete playback.
Advanced Techniques for More Polished Results
As your editing skills improve, you can combine keyframes with additional audio tools.
Useful techniques include:
- Noise reduction for cleaner recordings
- Compression for consistent volume levels
- Equalization to improve vocal clarity
- Limiting to prevent clipping
- Stereo balancing for immersive sound
When used alongside keyframes, these tools help create broadcast-quality audio that enhances the overall professionalism of your content.
Elevate Your Video Audio with Precise Keyframe Control
Keyframes are one of the most valuable tools available to video editors seeking better audio quality. They provide precise control over volume changes, help balance dialogue and music, and create smoother listening experiences that keep audiences engaged.
From simple fades to advanced storytelling techniques, dynamic volume control allows sound to complement visuals rather than compete with them. By learning how to place, adjust, and refine keyframes effectively, you can dramatically improve the quality of your videos and deliver a more professional final product.
Whether you’re creating content for YouTube, social media, online courses, marketing campaigns, or filmmaking projects, mastering audio keyframes is a skill that consistently pays dividends in viewer satisfaction and content performance.